ConnX Learning Center
New Ad Setup Guide
Learn how to create your Ad using our Ad Wizard.
Start
Navigate to the new Ad Wizard, by going to Lead Gen & Transfer > Create New > Ad.
Ad Type
What will you use your ad for?
If you are buying leads from the ConnX network, you should choose "Lead Gen".
For all other Ads, choose "Internal". Some reasons you would choose Internal would be: you are using ConnX to transfer data from an included source to your Email Marketing Platform; you are using ConnX to operate your own lead generation network; you are a publisher using ConnX technology and you want to serve an ad that you sold on your own.

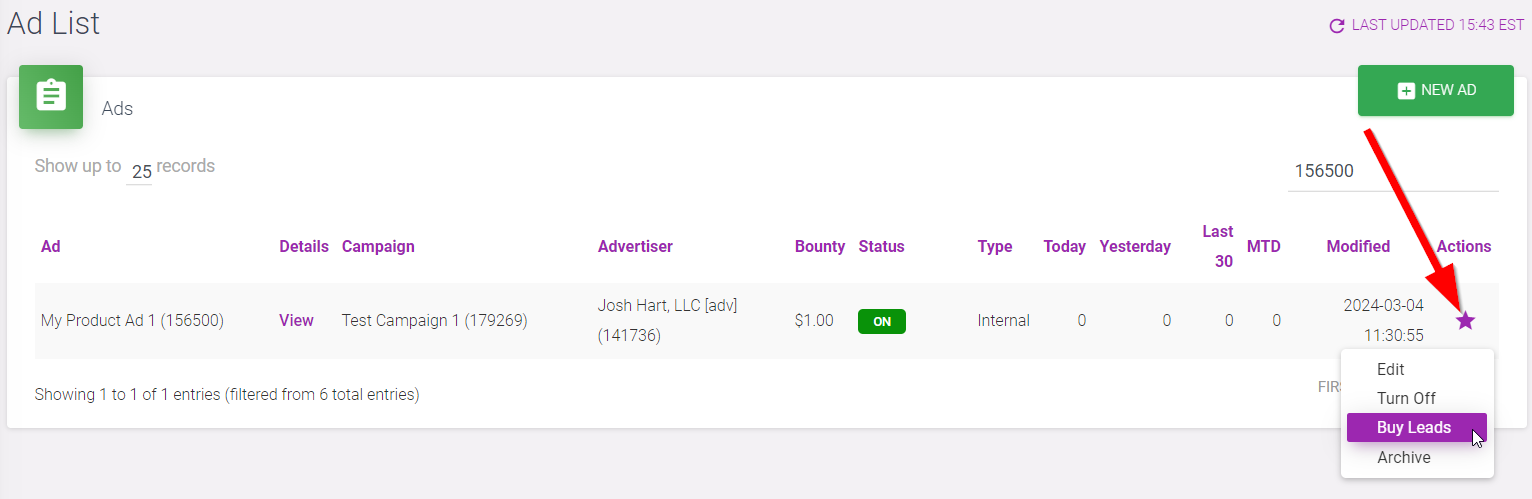
If you have already created an Internal ad that you'd like to use for "Buy Leads", you can convert it to a Lead Gen ad by clicking on the Actions menu in your Ad List, and choosing "Buy Leads".
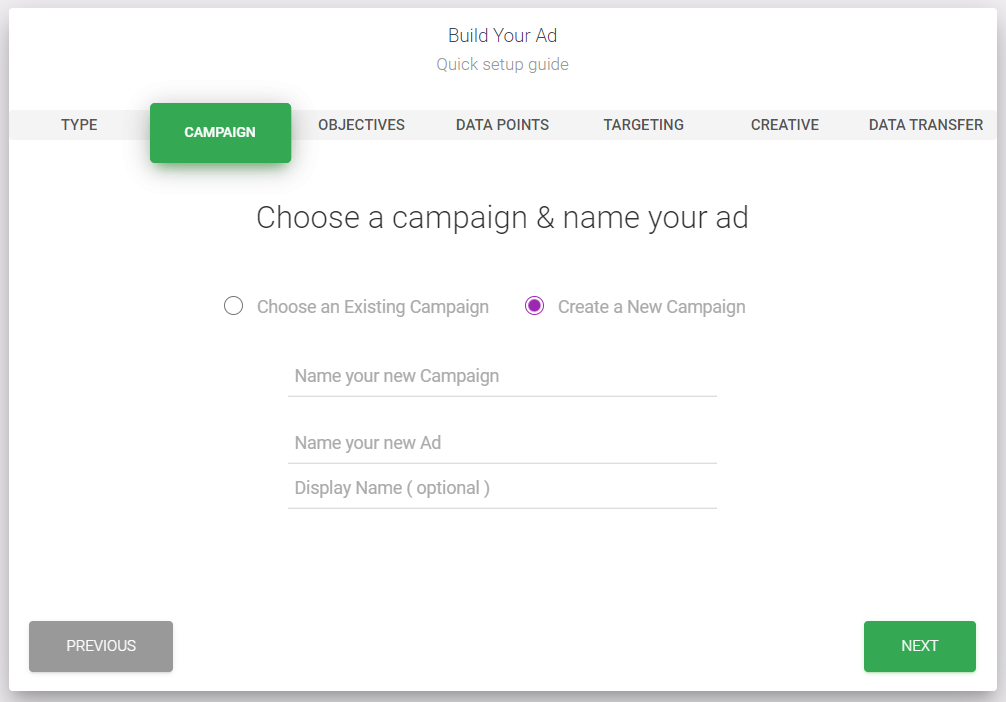
Campaign
Choose an existing campaign or add a new one.
Use Campaigns to keep your Ads organized. Each Ad must be assigned to one Campaign, but there is no limit to the number of Ads assigned to a Campaign. You will never receive duplicate Leads for Ads, or for Ads that are in the same Campaign.
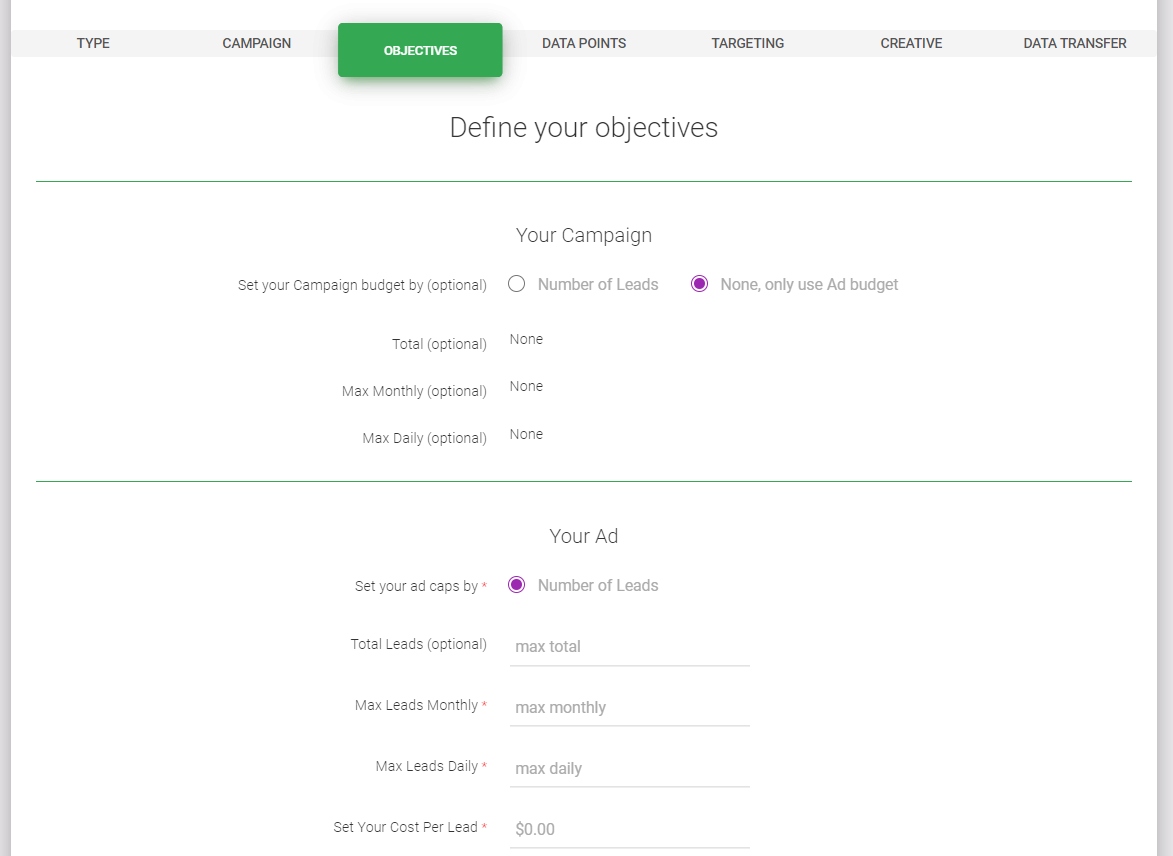
Objectives
Set your budgets and Cost Per Lead (CPL). The optimal CPL varies by factors including data points required, targeting, vertical, etc. You may need to increase your bid to get the volume you desire.
You can choose to set budgets on the Campaign level or the Ad level. Campaign budgets will aggregate all Ads under it.
Daily Budget: the amount of Leads you would like to generate, or dollars you would like to spend per day. Keep in mind you may go slightly over this amount once in a while based on the audience size and popularity of the offer.
Monthly Budget: the amount of Leads you would like to generate, or dollars you would like to spend per month. A month is based on the actual calendar month. On the first day of the new month your monthly budget will reset and you will begin to generate Leads again.
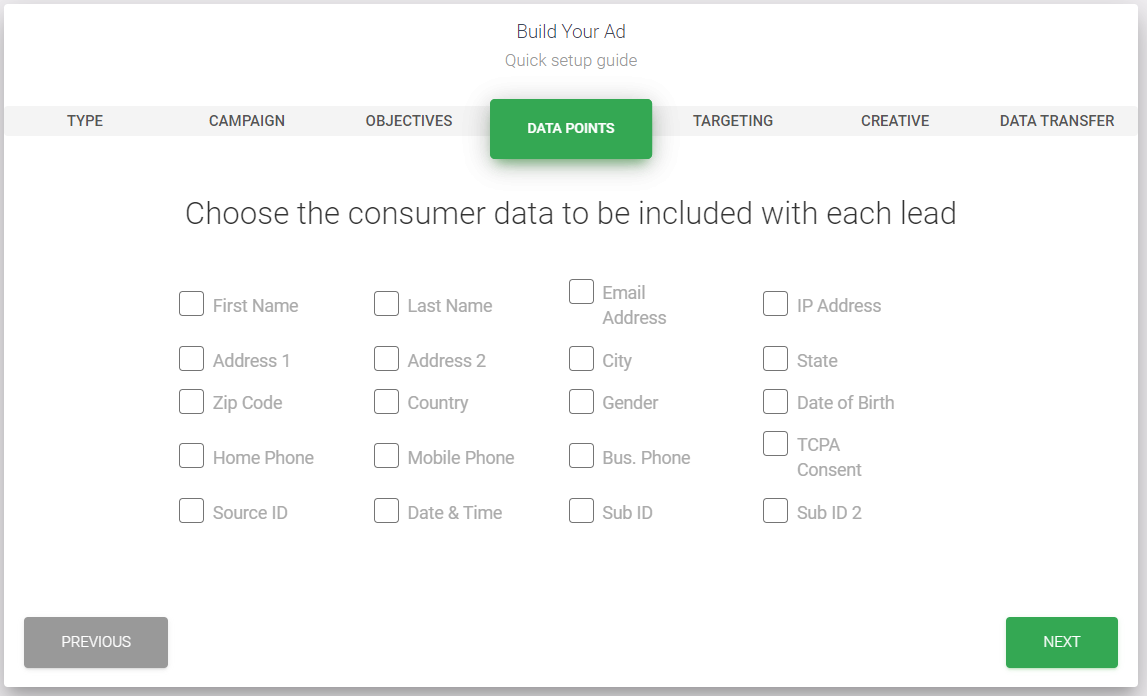
Data Points
Data Points are the pieces of information you receive for each Lead you generate, like First Name, Email Address, and Phone Number. We recommend you select only Data Points which will directly contribute to your Campaign goals. Generally, the more data points you include, the lower your volume will be which may require you to increase your bid. You can add or remove Data Points at any time.
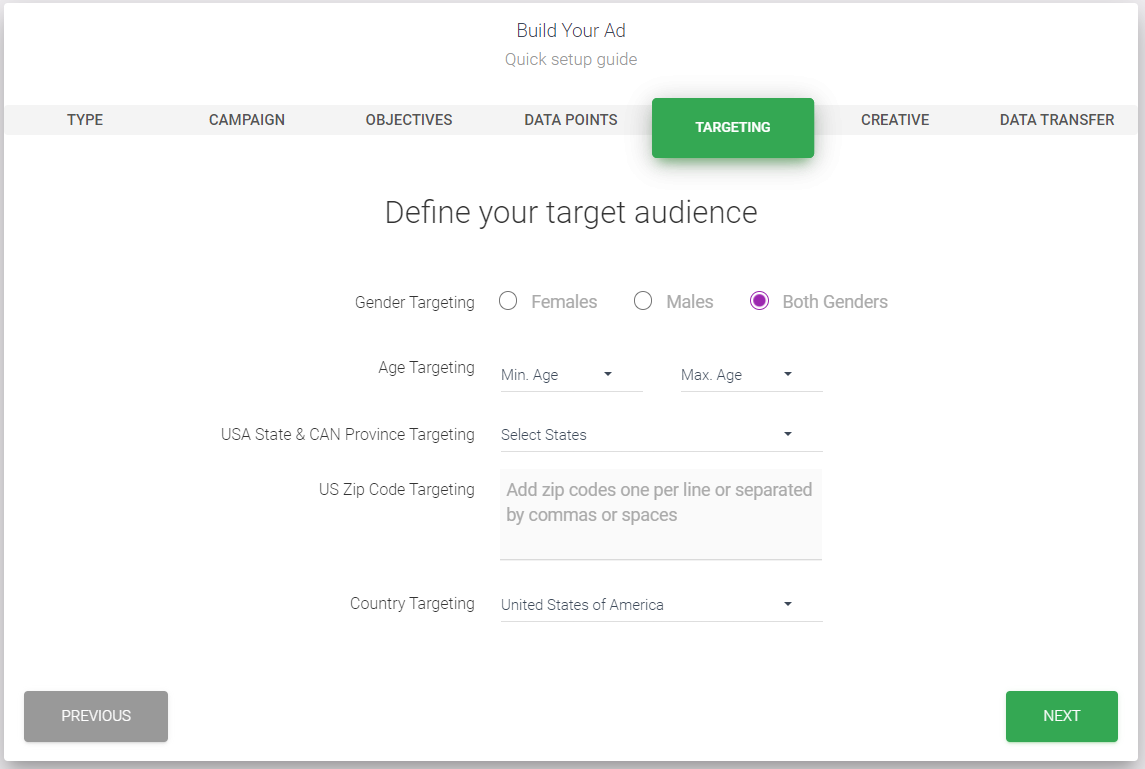
Targeting
Choose your target audience. You can choose a unique target audience for each Ad you create. Keep in mind that the narrower the audience you target, the fewer people will see your Ad. You can make changes to your audience targeting at any time. Contact our support team if you have further requirements, since we may be able to acommodate more detailed targeting on a case by case basis.
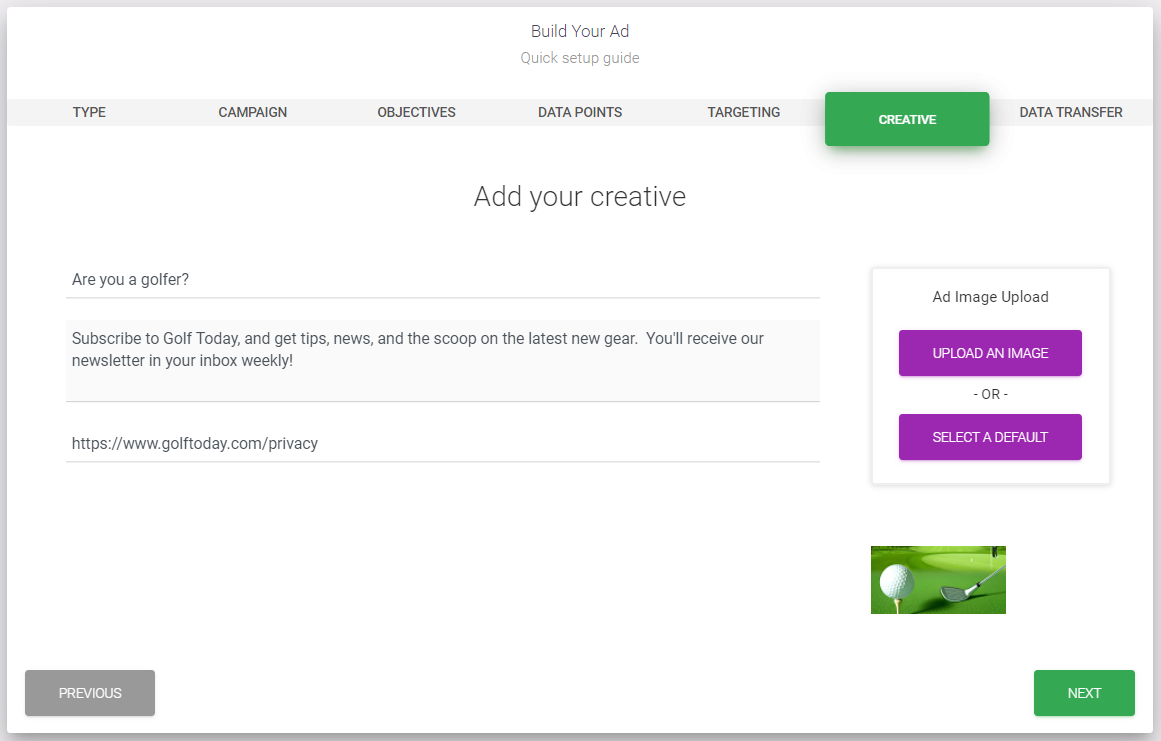
Creative
Design your Ad. Each Ad should include a headline, a body, a link to a privacy policy, and an image. The image must be exactly 120 x 60 pixels.
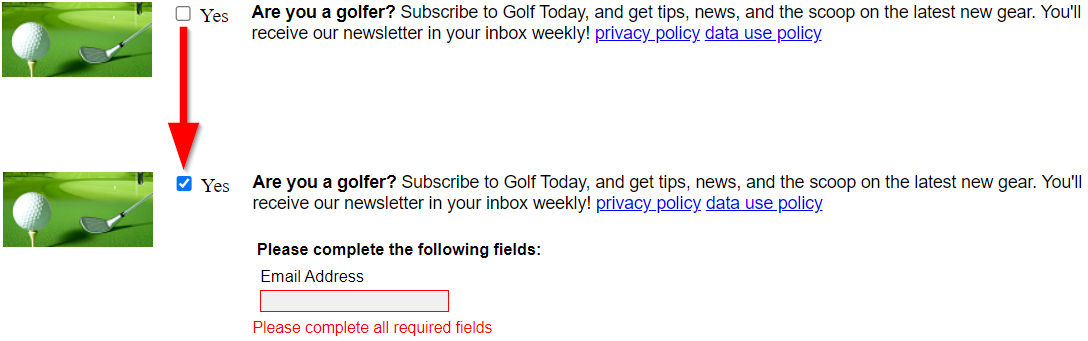
The creative chosen in the example above would be displayed like this.
All data points required will either be provided by the publisher, or else the user will be prompted to fill it in.
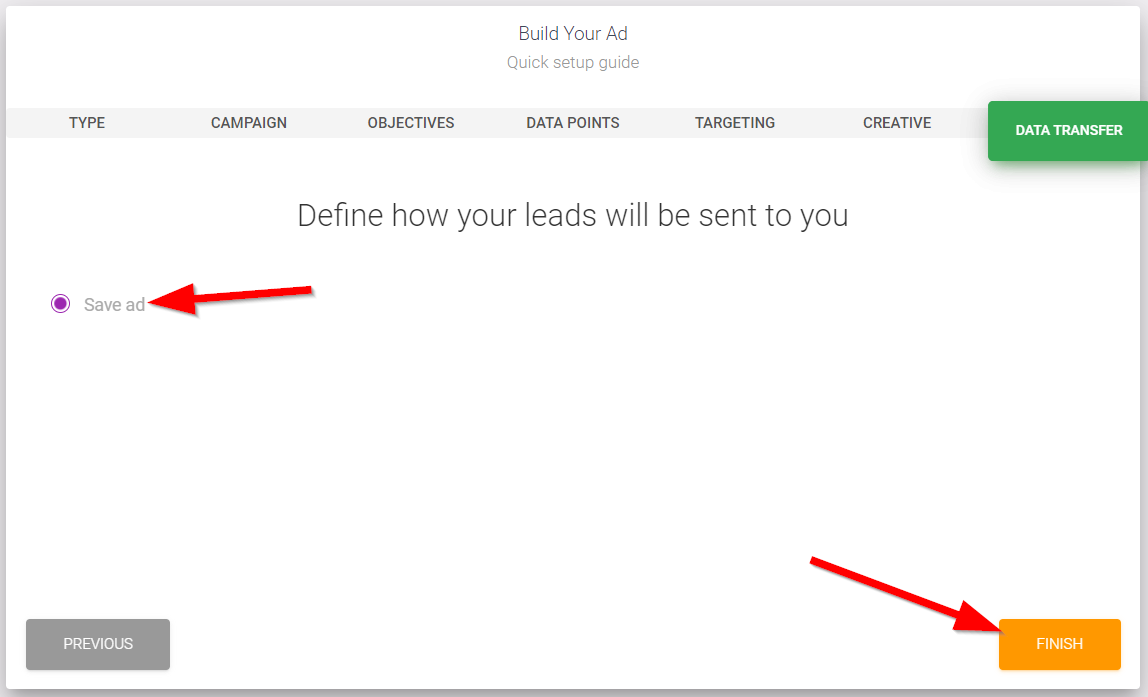
Save
Save your Ad. Check the box next to "Save Ad" and then hit "Finish".
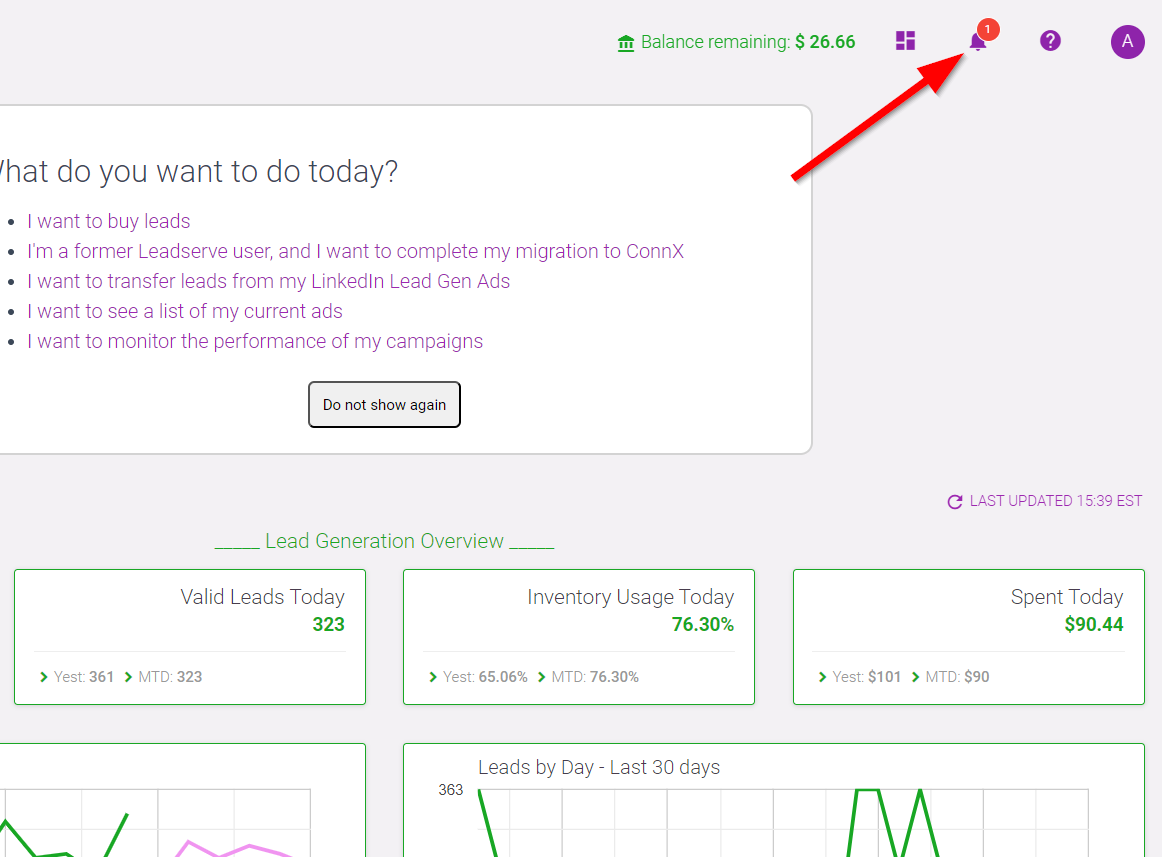
Await Approval
Each Ad you submit will need to be reviewed by our team and approved. You will not see your ad in your Ad List until it's been reviewed. Look out for an email from us and/or monitor your notifications (the bell icon on the top right of your portal).

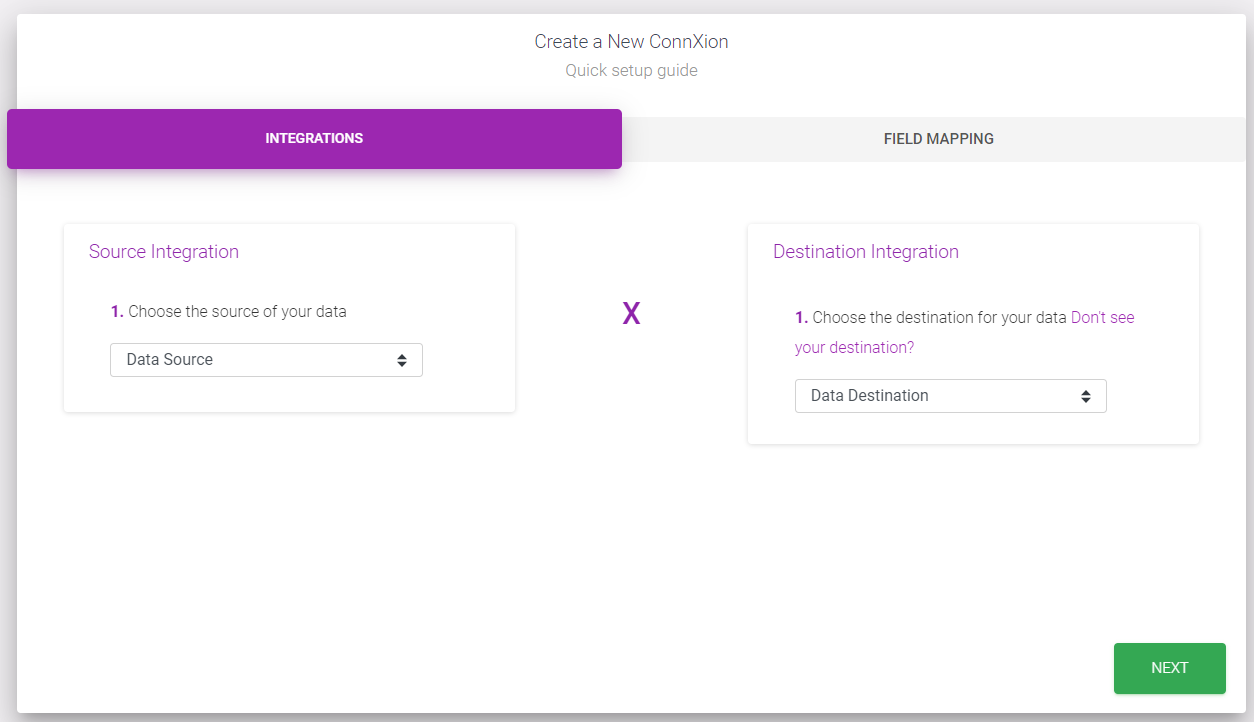
Add Your ConnXion
Each Ad must have a ConnXion, so we know where to send your leads. We can send your leads in real time or on a daily basis (batch). After our team confirms that your offer has a working connxion, your offer will get placed on our network of partner sites and you can watch the leads roll in!
Check out our Add ConnXion Guide for more information on setting it up.